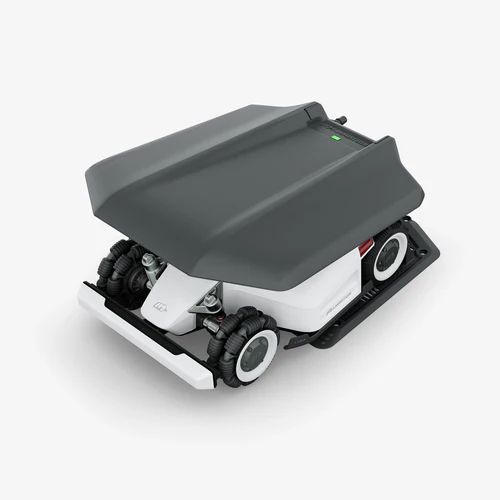
Automated lawn mowers, once considered a luxury, are rapidly becoming a staple for homeowners seeking convenience and a pristine lawn. These robotic marvels handle the tedious task of mowing, freeing up your time and ensuring your grass is always perfectly trimmed. However, unlocking their full potential requires a proper setup. This guide will walk you through the essential steps to get your auto mower up and running, ensuring a seamless and efficient lawn care experience.
1. Unboxing and Initial Charge
The journey begins with unboxing your new auto mower. Carefully remove all components, including the mower itself, charging station, boundary wire, pegs, and any included tools or manuals. Before anything else, place the mower on its charging station and allow it to fully charge. This initial charge is crucial for calibrating the battery and ensuring the mower has enough power for the subsequent setup steps. While it’s charging, take the time to read through the user manual. Familiarizing yourself with your specific model’s features and safety guidelines will be invaluable.
2. Strategic Placement of the Charging Station
The charging station is the auto mower’s home base, so its placement is critical. Choose a location that is relatively flat, out of direct sunlight, and close to an outdoor power outlet. Ideally, it should be in a central part of your lawn, allowing the mower easy access to all areas. Ensure there’s enough clear space around the station – typically a few feet in front and to the sides – for the mower to dock and undock without obstruction. Avoid placing it in narrow passages or areas where it might be easily damaged by vehicles or foot traffic.
3. Laying the Boundary Wire
The boundary wire is the invisible fence that defines your mower’s operational area. This is arguably the most critical step. Begin by connecting one end of the boundary wire to the charging station. Then, meticulously lay the wire around the perimeter of your lawn, ensuring it encompasses all areas you want mowed and excludes flower beds, ponds, and other obstacles. Maintain a consistent distance from edges, typically 10-14 inches, depending on your mower’s model.
There are two primary methods for laying the wire:
- Above Ground (Temporary): For initial testing, you can simply peg the wire to the ground. This allows for easy adjustments.
- Below Ground (Permanent): For a more discreet and durable setup, bury the wire a few inches deep using a specialized cable layer or a simple spade.
Remember to create “islands” around obstacles within your lawn by running the wire from the main boundary to the obstacle and back, ensuring the mower doesn’t get stuck.
4. Installing the Guide Wire (If Applicable)
Many advanced auto mowers utilize a guide wire (or “return wire”) in addition to the boundary wire. This wire helps the mower navigate back to the charging station efficiently, especially in complex or large lawns. If your model includes one, connect it to the charging station and run it straight out into the lawn, often towards the furthest point or a narrow passage. This acts as a beacon, significantly reducing the time the mower spends searching for its base.
5. Initial Test Run and Adjustments
Once the wires are laid and connected, it’s time for the maiden voyage. Start the mower and observe its behavior. Does it stay within the defined boundaries? Does it avoid obstacles effectively? Pay close attention to areas where it might struggle, such as tight corners, slopes, or uneven terrain.
Based on your observations, make necessary adjustments to the boundary wire. You might need to move it slightly, add more pegs, or refine “island” placements. This iterative process of testing and adjusting is key to optimizing the mower’s performance. Don’t be afraid to experiment to find the perfect configuration for your unique lawn.
6. Programming and Scheduling
With the physical setup complete, the final step is to program your mower. Most models come with a user-friendly interface or a companion smartphone app. Here, you can set up mowing schedules, define cutting heights, activate rain sensors, and customize other preferences. Consider your lawn’s size, grass type, and desired mowing frequency when creating your schedule. Regular, short mowing sessions are generally more beneficial for lawn health than infrequent, long ones.
By following these steps, you’ll transform your auto mower from a boxed gadget into an efficient, autonomous lawn care assistant, giving you back your valuable time and ensuring a beautifully manicured lawn year-round.

